
Distance learning - timeline activities
Friday 19 February 2021
How can we be sure that students have understood the main learning objectives of a lesson during distance learning? Setting some work to do, collecting it and then marking each piece of writing is great but very time consuming. There's the added difficulty of chasing the missing work and there's always one student who put the work somewhere you didn't think to look, like your email inbox!
A faster, easier solution which makes the students participation visible and shows in an instant how much understanding each student has of a topic is something that could be called a "synchronous slides activity" and works very well with Google slides.
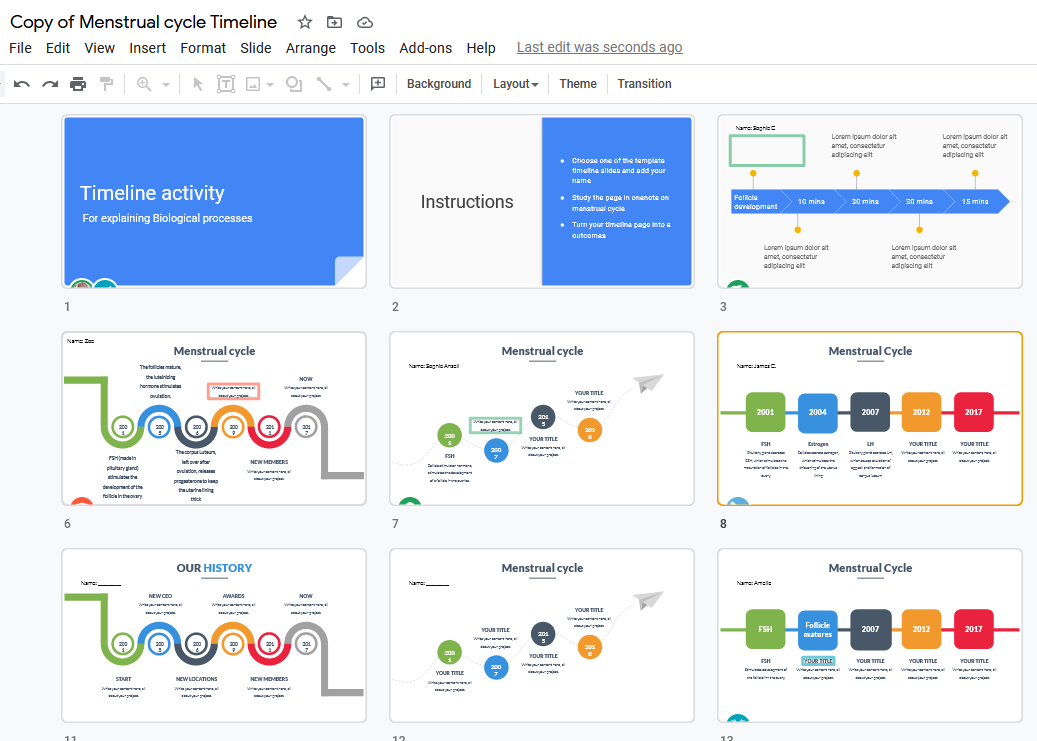
Students each produce one slide of a presentation using the details given to them in the lesson. This example covers details of the hormones of the menstrual cycle, ![]() Menstrual cycle hormone slides. Each student takes a slide and converts it into a timeline diagram about the process.
Menstrual cycle hormone slides. Each student takes a slide and converts it into a timeline diagram about the process.
Everyone works simultaneously and it is very easy for the teacher to watch all the slides. Simply select "View", "Grid view" from the menu in Google slides and all the slides are visible in one screen. I love the way the slides are all changing at the same time. You can even click through the slides, add a comment or edit a slide with the student if a little extra help is needed.
To share the slide set with your class you will need your own Google account.
Open this link - Menstrual cycle timeline presentation,
Click; File, Make a copy, Entire presentation. Then the presentation is copied into your own Google drive
Click Share, and you can share a link with your students. Remember to give students editing rights to the slides.
At the end of the activity it's useful to present the slides to the class and ask each student to explain their slide.
If the teacher prefers students can work in small groups, and edit one slide together.
Giving the students information to sort on the slide can also work well. I particularly like the idea of sorting diagrams to explain a process, then annotating the slides to explain what is happening. This is a recent activity I have used in the topic Meiosis.
Instead of printing cards which students sort in lessons I made a set of timeline slides with jumbled images of cells undergoing meiosis and asked students to put images of chromosomes into the correct sequence to show meiosis. Then we annotated the steps of the process and to finish the students each said a few words about the way they worked out the slides.
Putting some of the information into the slides saved time and including the microscope images as a stimulus slide help to give the diagrams some real-life context before students began sorting the diagrams.
Please do share any of your own timeline activities in the comments below if you use thiss idea in any other topics.