Student Access: Creating Groups
 About 75% of this site is available for students to use. It allows them to make notes from the abbreviated content in The Topics, and access the Activities for Learning in each sub-topic. There are useful sections on practical work ideas, writing the IA, how to revise and access to quizes and games to test themselves. I share the link I am using for the lesson and task each day but students also access the site independently.
Step 1 - click "Student Access"

Step 2 - click the purple "Groups" icon
You will see the following page with a list of your groups.

Step 3 - click "+New Group"

Step 3 - Choose the content you want available to students.
Select the pages which you want students to see. Most pages are by default visible to students.
You can prevent students from seeing some pages, for example answer keys, by leaving the tick box blank.
You can also un-tick "show blog posts" to hide the blog posts from students if you wish. This makes sense because the Bog is written for teachers not students

Step 4 - Invite students and "Finish"
It really is quick to set up. Just send the link to your students.
They will be invited to create a new account or to sign in, if they already have an account with ThinkIB.net.

To change the settings of a group or manage the students
To change the settings of a group or manage the students simply click "student access" at any time, and then click the group name or the edit icon in the top right corner.

On this page you can:
- Add or Edit pages available to students.
- Delete or invite students.
- Lock the group - to prevent any new student subscriptions.
You can also see the Assignments, which leads to the automatic mark book. Student Access: Setting Assignments
What does it look like for students?
When students navigate to the group invitation URL, they first see this page.
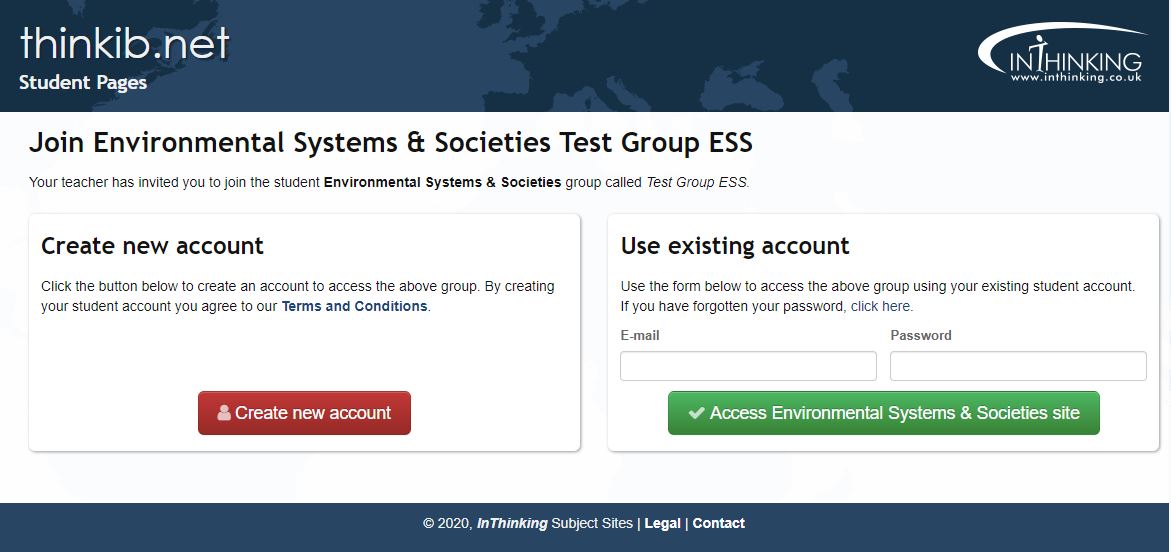
If they have a Thinkib.net account already because your school subscribes to another subject, students can log in with their existing account. It will add Psychology to their list of groups. Otherwise, students fill in a bit of information to create a new account.

Once students have joined the group there is only one URL to remember. This will get students to their student dashboard with links to all Inthinking sites in which they are enrolled.